Raspberry White Chocolate Snowflake Cupcakes

10 Feb

Here in Kansas City, it is most certainly still winter. We were lucky to receive over 9 inches of snow at my house last week and just to top it off, got another inch yesterday. It’s been good times. What’s the upside? When you’re trapped inside, there’s nothing better than doing a little baking. Or a lot of baking. Or just turning the oven on to keep your kitchen warm. Whatever floats your boat. I opted for the lot of baking option, and came up with these little guys.

Snowflake Cupcakes 3

There are some great tutorials out there for making these little snowflake royal icing toppers. I’ll warn you, they are no easy task and might not be the best challenge for someone new to royal icing, but who am I to say?

Snowflake Cupcakes 4

These particular cupcakes are raspberry with white chocolate icing. I also made the cupcake toppers out of some random scrapbook paper I had lying around along with a round punch and some toothpicks.

Snowflake Cupcakes 5

As I said, the snowflakes are extremely delicate and tricky, so some of them broke on me. Any by some, I mean most. So… I improvised and made some of the above cupcakes with little flourishes I had made, and even some of the broken snowflake pieces!

Snowflake Cupcakes 1

At the end of the day, I had a lot of fun with these guys even with the snowflake trouble.

Happy Baking!

Wintertime Peppermint Bark

24 Dec

Okay, so you know when you go to Olive Garden and they give you Andy’s mints at the end of the meal? Am I the only one that almost looks forward to those more than the meal itself? Don’t worry, I said almost. Any who, of course you can go buy Andy’s mints in the store. OR… you can make your own fabulous and festive peppermint bark that blows Andy’s mints out of the water (in my own humble opinion). So… I thought i’d share with you a recipe on how to make your very own, OH so easy, wintertime peppermint bark.

Peppermint Bark 1

Recipe:

1 11 oz. Pkg semi-sweet chocolate chips

1 pkg Vanilla Almond Bark

1 teaspoon Peppermint Extract

20 approx. peppermint hard candies pounded and chopped up into very small pieces

Prepare a standard size cookie sheet with a sheet of parchment paper laying on top. Melt your semi-sweet chocolate chips in the microwave in 30 second intervals. This means, cook on high for 30 seconds and then take out and stir. Then pop them back in for another 30 seconds, and take out and stir. Continue doing this until they are completely melted. Even if the chocolate doesn’t LOOK like it’s melting, only do 30 seconds at a time. Otherwise, you’ll burn it and burnt chocolate is awful smelling. Just take my word for it!

Once your semi-sweet chocolate is all melted into a smooth and silky goodness, add 1/2 teaspoon of peppermint extract. You’ll then spread the chocolate over the parchment paper on the cookie sheet until you have a thin uniform sheet of chocolate. Pop this in the fridge and move on to the next step.

You’ll melt the almond bark in much the same way. I only use 3/4 of the pkg of almond bark, but you should use however much you want. The more you use, the thicker your white chocolate layer will be. Once melted, add the other 1/2 teaspoon of peppermint extract.

Remove your chocolate from the fridge and layer your Almond bark on top and spread thin in the same way you did with the semi-sweet chocolate. You’ll then take your peppermint pieces and evenly sprinkle them over the top of the tray until it’s as coated as you’d like it to be. Set the tray in the fridge to set for an hour.

Remove the tray and break up the bark with your hands until the pieces are a size of your liking. Eat and enjoy!

Peppermint Bark 2

Happy Baking!

Monogram Wedding Cookies

29 Oct

One of my very favorite projects is making cookies for a wedding. I recently had the opportunity to create some beautiful monogram cookies as a wedding favor. The brides colors were eggplant and granny smith apple green and they were so lovely together!

photo 1

Monogram cookies are something I absolutely love doing because while they always look elegant and lovely, they are very versatile. A monogram cookie can be anything from whimsical and artsy, to clean and professional.

 photo 4-1

The bride wanted something that was a combination between artsy and elegant. I did half of the cookies in purple and the other half of the cookies in green.

photo 3

18 dozen cookies is quite the undertaking, and it takes careful planning and execution. If you ever decide to take one on, make sure to plan accordingly!

photo 5

These cookies turned out great and I was really pleased. Purple and green is such a great combination and compliment each other well! I’m sure the bride looked beautiful and the colors of the wedding really set everything off!

photo

18 dozen cookies packaged and ready to go!

Happy Baking!

Back To School Antiqued Cookies

21 Sep

Anyone that knows me knows that my husband is a teacher. Not only is he a teacher, he’s an elementary teacher. Not only is he an elementary teacher, but he’s a special education elementary teacher. Someone needs to go ahead and knight this guy, right? He’s amazing. I have so much respect for all teachers (especially public school teachers) who put their heart and soul into their students. My husband is one of those teachers, and I’m so proud of him. In that spirit, I decided recently that I needed to make him some special “back to school/thank you for being you” cookies to take to work to share with his colleagues.

IMG_3015

I’ve been loving everything antiqued and distressed lately, and I wanted to make these cookies in that fashion. So once I got them iced, I went back with some painting techniques and made them distressed. I really enjoyed how they turned out, especially the chalkboards!

IMG_3017

I’ve got a couple of tutorials lined up that I’ll be posting soon that shows you how I did the antiquing as well as how I did the chalkboards, and the globes. I hope to have those up soon.

IMG_3011

These were so much fun to make, and I’m told that the only complaint was that there weren’t more of them to go around!

IMG_3010

Happy Baking!

Monkey Cookies and #2 Cookies – Use A Cookie Cutter In A New Way {A Tutorial}

14 Sep

I just love little kid’s birthdays. Don’t you remember the pure and lovely joy that pours out of every pore of a child on their birthday? It’s all about the dessert, the games, the decorations, the presents, and yes, the family and friends that are ALL there to see you and celebrate you! Gosh, to be 6 years old again. I was recently asked to do some special cookies for a Kari’s son celebrating his 2nd birthday. His theme was “monkeys” and she went all out! I caught some of her pins on Pinterest as she prepared for the party and I’ll just say she put some serious effort into the festivities. I was excited to be a part of it!

IMG_3018

If you want to make monkey cookies of your own, I have a couple of tips prepared for you here.

First, I’ll just tell you that of all the cookie cutters I own (I’m ashamed to say how many) I do not have a monkey shaped cookie cutter. So when I got Kari’s request, I needed to improvise.  While I didn’t have a monkey, I did have a balloon.

K1017F

And I had a small circle.

mini-circle-cookie-cutter-cg1-p1420

I simply cut out the cookie  dough with the balloon cookie cutter, turned it upside down to make the balloon “tie” the monkey’s hair,  cut a circle out, then cut it in half, and placed it on either side of the balloon on my cookie sheet. Once baked, the finished product looks a bit like this:

IMG_2985

As you can see from the above photo, I then proceeded to draw on the monkey’s face with a food writer (edible) marker. I sketched one of these out on the front of each cookie and then began icing.

IMG_2988

I outlined and flooded the dark chocolate-brown icing first. I just followed the lines I had drawn previously. I let that dry for a few hours, and I then went back in and flooded the remaining portions with the flesh toned icing. If you have problems with your icing colors bleeding, you may want to let the brown dry overnight instead. I am, however, impatient. It’s my downfall. Ask anyone!

IMG_2995

Once the base layer is done drying, go back in and add the monkey’s face and his little tuft of hair at the top. Voila! You can’t even tell that it used to be a balloon huh? Well, at least I hope you can’t!

IMG_3033

Kari said the cookies were a hit at the party and everyone really enjoyed them. Now I just wonder who enjoyed it more… them eating them, or me making them!  These #2 cookies were a ton of fun to make as well and the dark brown icing on them is the same color as on the monkeys to help them coordinate with each other.

IMG_2991

IMG_2989

Happy Baking!

Decorative Monogram Cookies {A Tutorial}

9 Sep

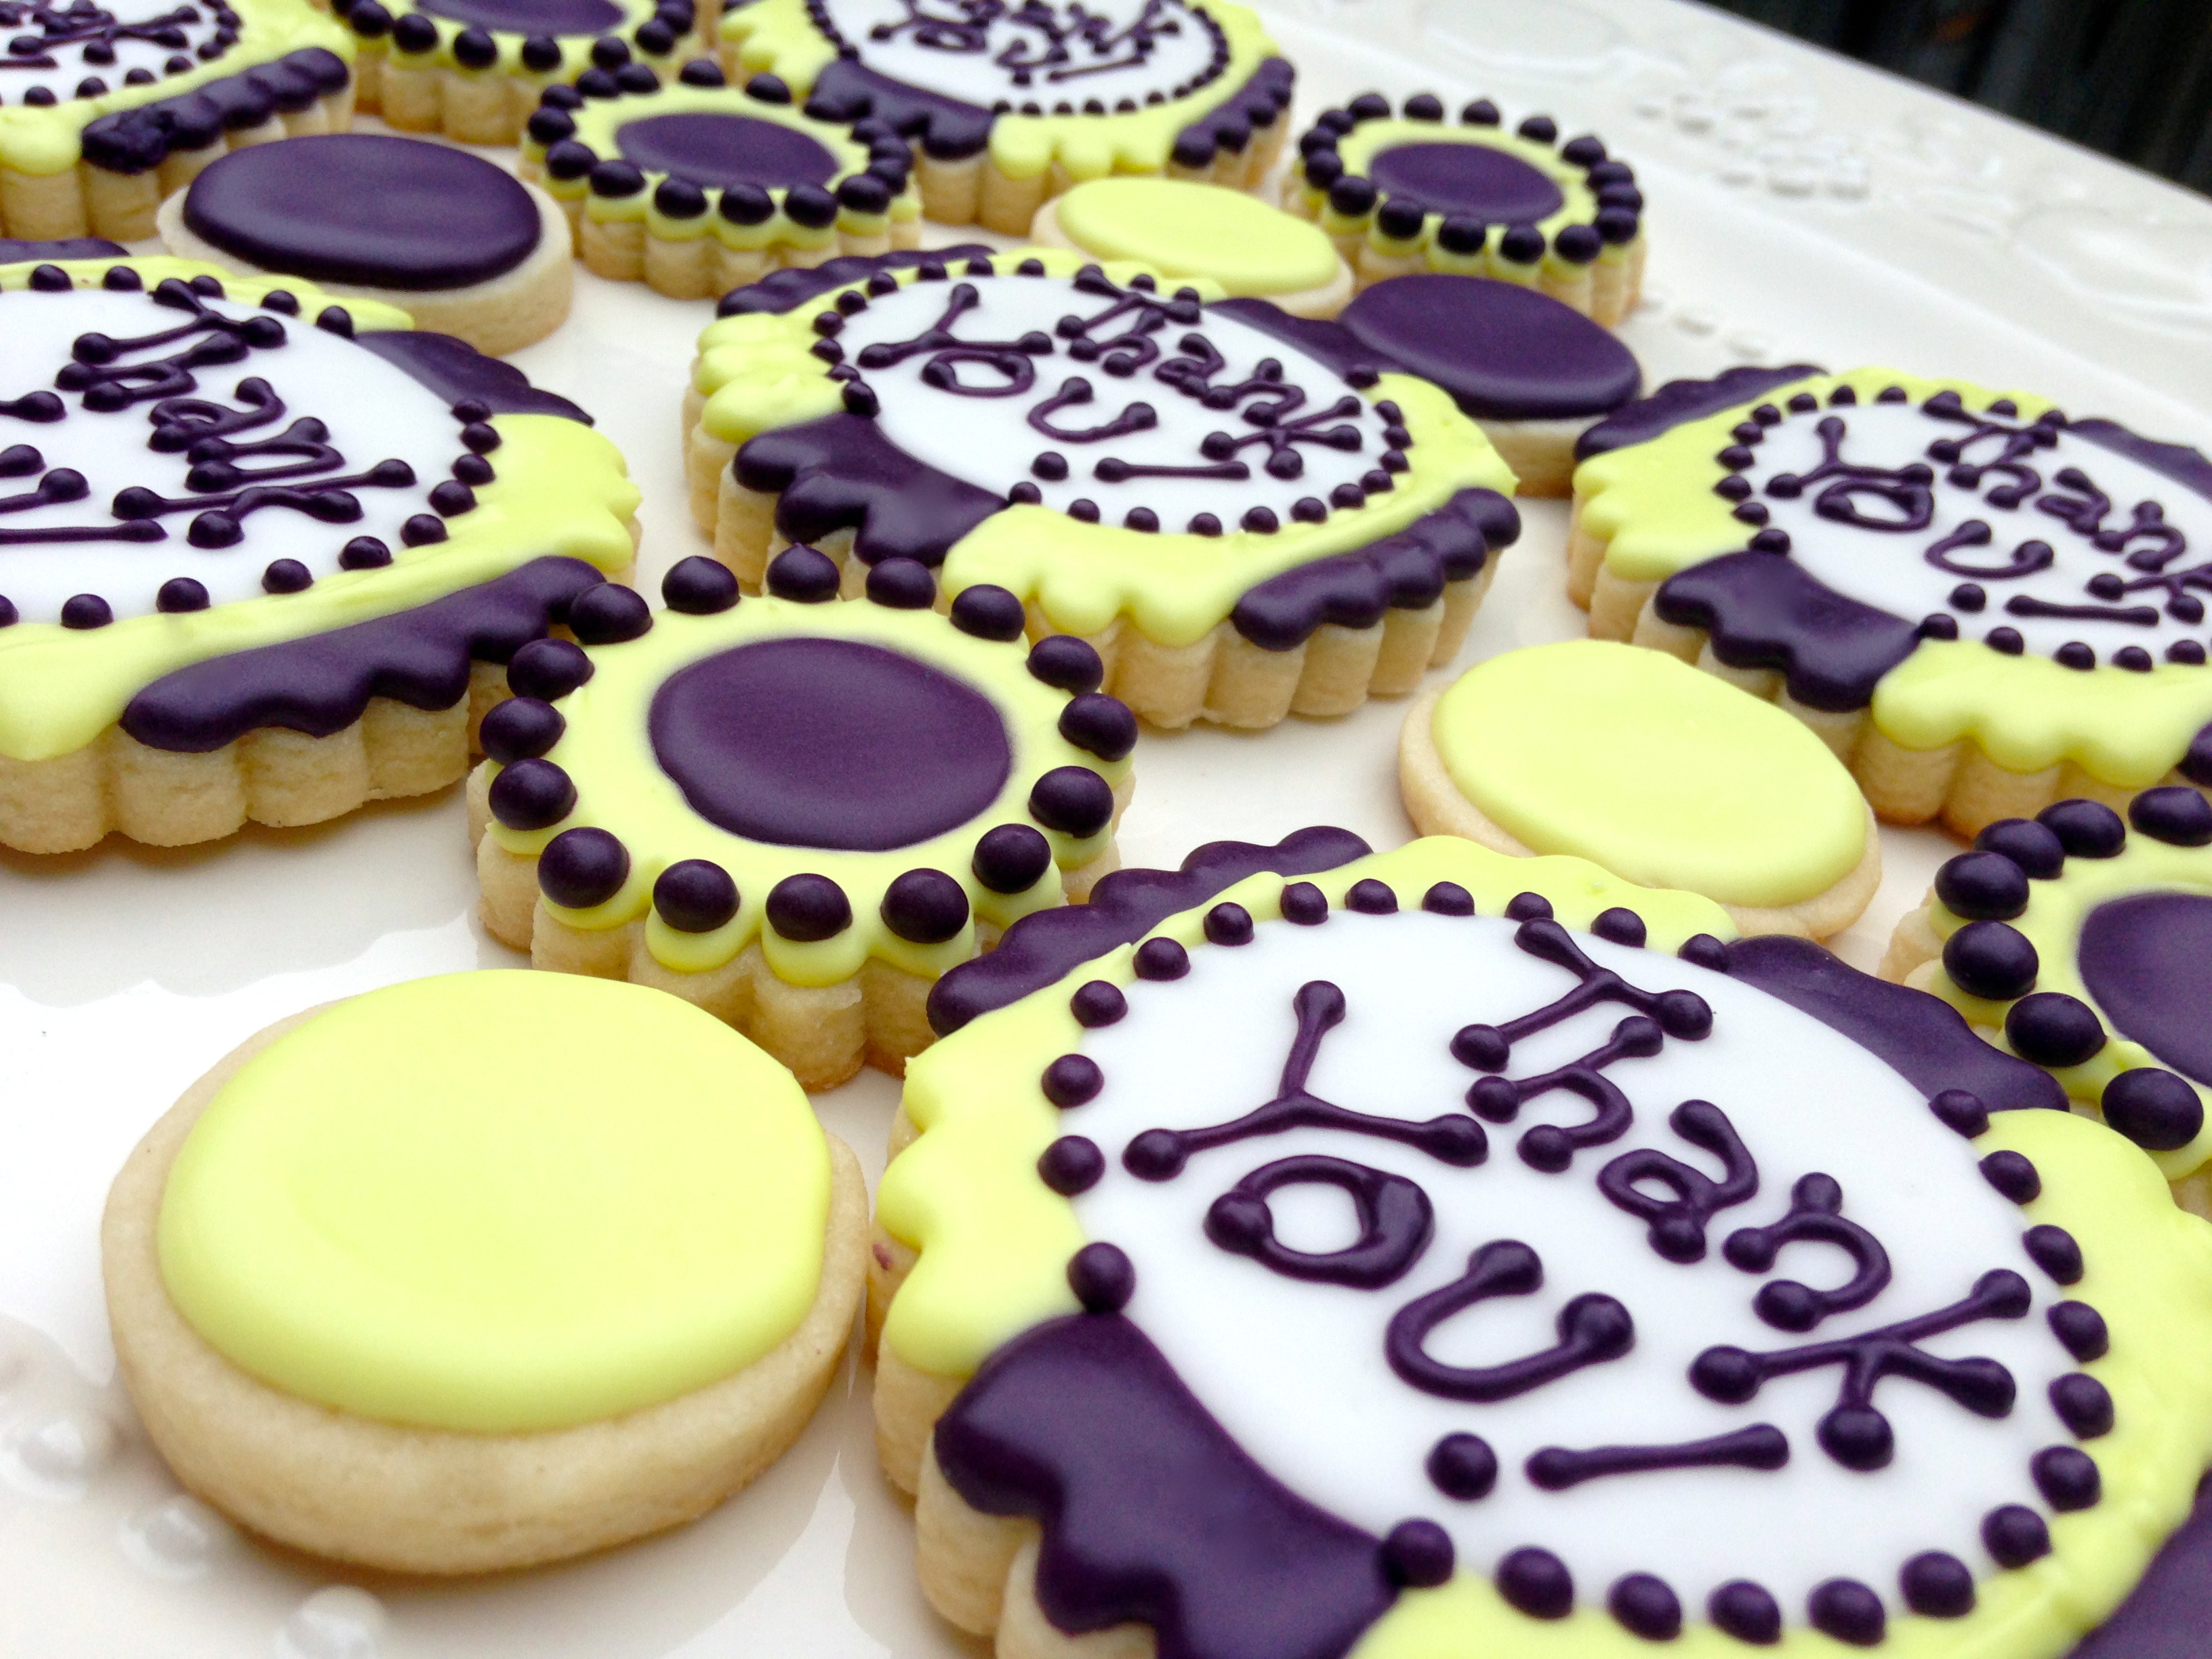
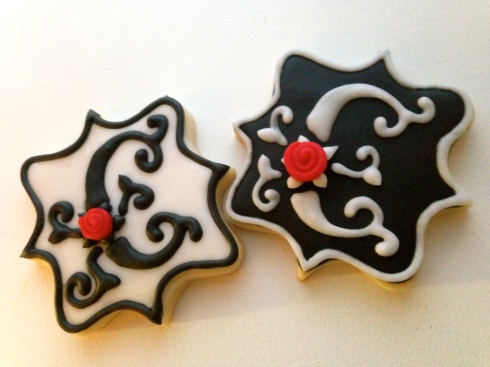
So… I got a new cookie cutter. Isn’t that how all of my posts seem to start? I’ve always been super jealous of Lilaloa’s plaque cookie cutter, and finally Karen’s Cookies came out with one and I snatched it up immediately… and then proceeded to wait forever to actually bake anything with it. That’s just how I roll really. I did in fact get around to making some cookies with my new plaque cutter and decided to do a bit of tutorial on these cookies while I was at it. Here’s the finished product.

IMG_2956

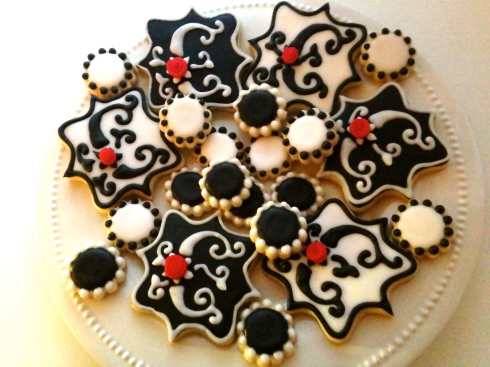
Decorative monogram cookies. I of course chose to do “C”s this time around, but really any letter would work with this technique. I think.

IMG_2920

Using 10 second black royal icing, I piped the border.

IMG_2919

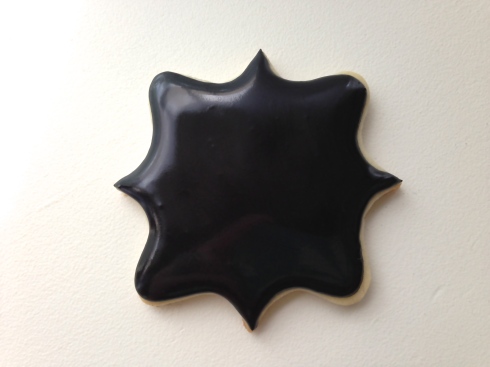
Immediately flood the interior of the cookie with the same color. In my case, black. You can tell from the finished photo that I did some in white too, to alternate the color scheme. Give the cookie a jostle across your work surface to flatten out any bumps or lines. Then… you wait. Dry time. I gave these guys overnight simply because I was using black and white as my color scheme and those two colors tend to bleed into each other pretty easy if you don’t allow proper dry time. If you want to learn more about royal icing bleeding and how to prevent it, check this out.

IMG_2937

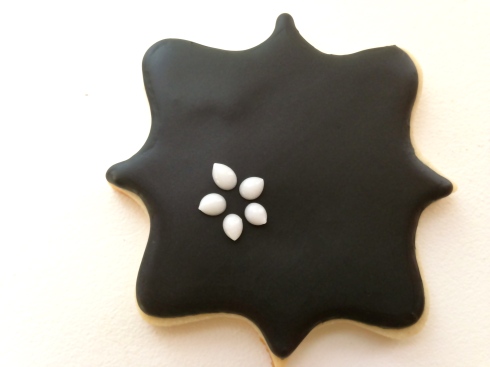
Once proper drying time has taken place, i then used a #2 Wilton tip to pipe on my first section of decal. I did the little “flower” first because it helped give me a base to work out from to make sure everything stayed proportionate and as close to the center of the cookie as possible. Since I was placing my flower on the left hand side of the C, the flower is of course placed off to the left on the cookie.

IMG_2938

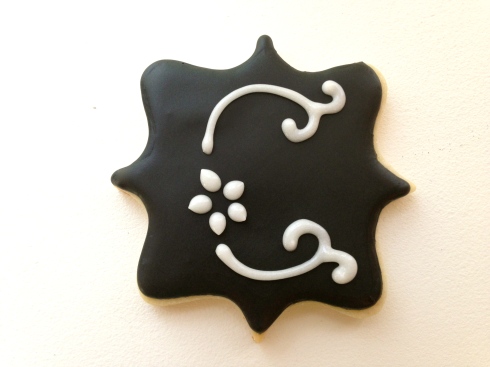
Then, I added the first layout of my C. I used 10 second icing here, because I knew I was going to be going back and thickening the letter to give it a more robust feel, and i didn’t want to have lines in my C when it was all said and done. I did do some sketches on paper to get a feel for how I wanted my C to be designed and thus already had a plan for where to put the curls, etc.

IMG_2939

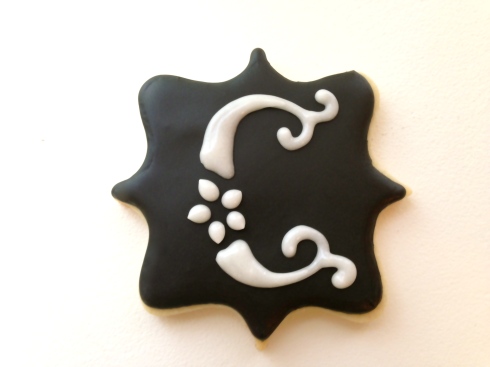
Without allowing the white to dry AT ALL, I immediately went back and thickened the C in the areas closest to the flower. I then gave it a shake to even everything out.

IMG_2940

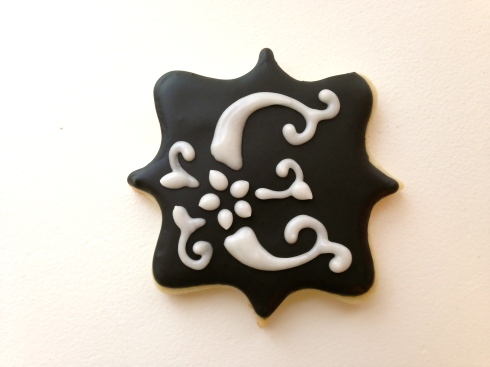
Next, I went in and added some little stems onto my flower with leaves coming off. Given that it’s not a typical flower color or design, it can look like a flower with stems, or it can just look like part of the design, but the beauty is that is doesn’t really matter when you work with all one color as it blends together nicely. To get the look for the little leaves, you simply place your tip where you want the base of the leaf to be, and squeeze a round dot out and while still squeezing slightly, you pull away and up. It makes it end in a point as you can see above.

IMG_2941

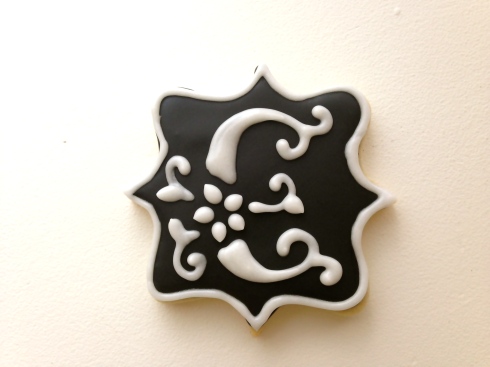
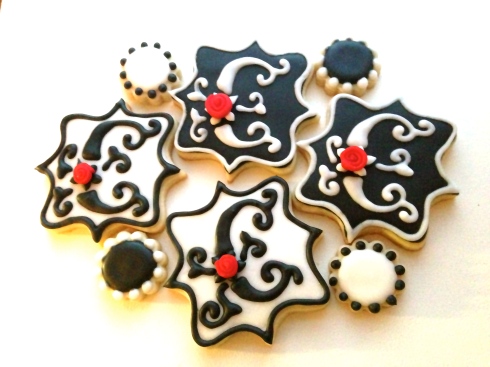
I then went around the outside edge with a solid border. Often times I like to do dots because I prefer that look, but dots give a more “fun” feeling while a solid line gives more of an “elegant” feeling. Course maybe that’s just me, and I AM a bit cooky, so take that with a grain of salt I suppose!

IMG_2950

My very last step was to add the ribbon rose. These roses are made out of fondant. That’s a different tutorial for a different day. I attached them by simply putting a dollop of the color I did for the letter on the bottom of the rose and then placed it in the center of my flower. I thought it gave a nice formal touch.

IMG_2949

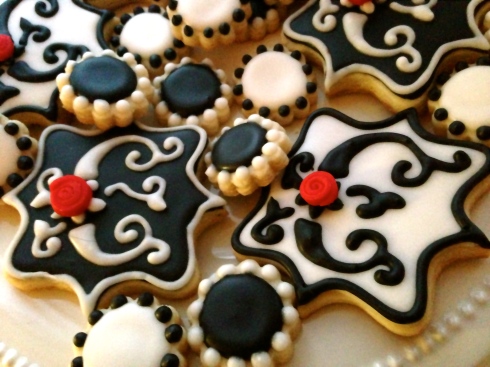
These would be great for a wedding, rehearsal dinner, bridal shower, graduation, you name it! I loved them.

IMG_2953

Thanks for checking them out. If you want to get the plaque cookie cutter, you can buy it from Karen’s Cookies, here.

Happy Baking!

Puckering Lemons Cookies {A Tutorial}

24 Aug

Sometimes you want to just play around and create a cookie that serves no real “eventful” purpose other than to well, just be kind of awesome. I got a new lemon cookie cutter from Karen’s Cookies and wanted to play around with it and do something really adorbs. Here’s what came out…

IMG_2943

Aren’t those the funnest little stinkin’ things? I had so much fun making these little guys, so here’s how:

IMG_2921

Bake the lemon shaped cookie and then edge the border with 10 second icing in yellow. I use Electric Yellow by Americolor with just a hint of Electric Green. I also used a #3 Wilton tip.

IMG_2922

Immediately flood the interior of the cookie with the same color and the same 10 second icing. I’m still using the #3 tip here. The photo above shows you what it looks like immediately following the flooding.  Notice how you can still see all of my lines from the icing as well as the gaps between the flooded center and the border.

IMG_2924

Then you’ll want to give the cookie a little “shake” or “jostle” across your work surface to get the icing to smooth over. Then wait. And wait. And wait some more. Okay, maybe not that long, but you’ll want to let the yellow set pretty well so that your black face doesn’t bleed onto it. I let mine rest about 4-5 hours, and then I piped the yellow border. You could have let the cookie set before flooding to get a border, but I wanted mine to have an extra layered “3-D effect” so I waited and added it on later.

Of course I forgot to take a picture of the process of drawing on the faces, but I used Americolor black, and made it about a 15 second consistency. Draw on your eyes first, then eyebrows, then mouth. Then go back in and put your yellow dots for the lemon texture in the corners. I just made these random. Remember, odd numbers are more appealing to the eye.

IMG_2945

Voila! Fun little Puckering Lemon Cookies.

IMG_2943

If you want to get this lemon cookie cutter, you can buy it from Karen’s Cookies here.

Happy Baking!

Baptism Cookies

18 Aug

As you can tell by these colorful cookies, Leiloni is 8 and in her church, it’s the age for baptism. Can you guess what her favorite colors are?

IMG_2677

Why hot pink and yellow of course.

IMG_2675

I really loved how these turned out, with the 8 in the center and the rest of the words around the border. In case you can’t make it out in the photo, they say “Leiloni’s Baptism November 24 2012”. When I got this request, I wasn’t quite sure how I was going to manage to fit all of that on a cookie. The key to making a lot of text fit on a small cookie surface is to use a thicker royal icing. This icing is 20 second icing, while the body of the cookie is done in 10 second icing.

IMG_2674

Leiloni and her family enjoyed the cookies, and I hope you enjoy the post!

Happy Baking!

Owl Cake Pops

13 Aug

What’s better on a lazy Saturday than to make OWL CAKE POPS?!?

IMG_2388

For some reason i’ve been obsessed with all things owl lately. I’ve bought owl jewelry, owl clothing, and owl cookie cutters. I’ve apparently been into owl’s far longer than I realized, because I made these little guys a long time ago and just came across them in the archives.

IMG_2387

Regardless, they turned out adorbs and were so fun to make.

IMG_2386

IMG_2383

Happy Baking!

Thank You Cookies

11 Aug

My husband and I recently moved to a new home. Needless to say, it was quite the ordeal that ended with us still moving at 1am the following day. I’ve never been so exhausted in my life, and my husband, amazing as he is, worked twice as hard as I did. He even did the last load by himself. Color me lucky. What made us both feel even MORE lucky, was to have an amazing “welcome to the neighborhood” feeling from everyone in our new cul-de-sack. We borrowed tools, moving supplies, were invited to a fourth of July party, AND given a bottle of champagne. Talk about amazing. So, needless to say, I needed to say thank you, Thank You, THANK YOU.

IMG_2886

So I whipped up a batch of these bad boys.

IMG_2887

I have an order for a few hundred cookies for a wedding coming up, and can you guess the wedding colors? Yep! Peacock purple and pale green/yellow. I thought this would be the perfect time to try out some icing color combinations and get it just right.

IMG_2888


IMG_2889


IMG_2890

They were fun to make! Not that any batch isn’t. I plan on doing some more “thank you” variations in the future. Something tells me i’ll have plenty of reasons to make them!

IMG_2893