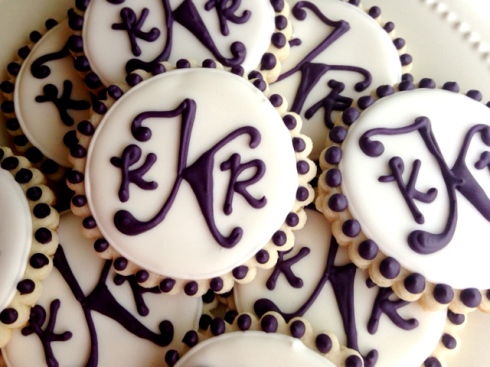
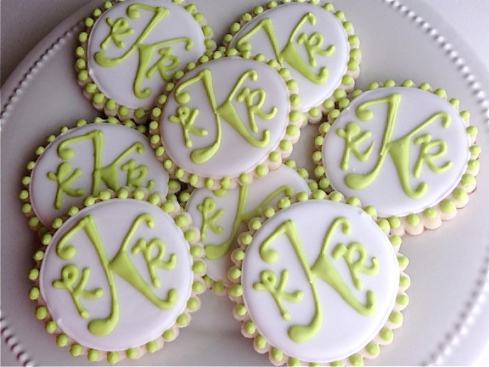
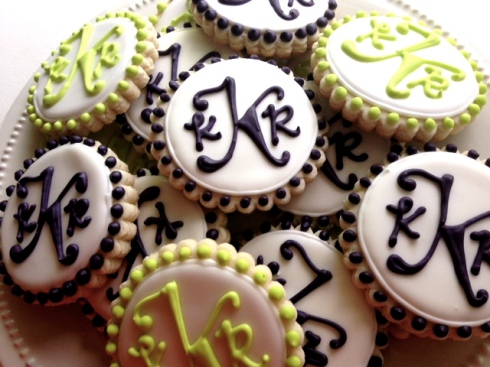
So… I got a new cookie cutter. Isn’t that how all of my posts seem to start? I’ve always been super jealous of Lilaloa’s plaque cookie cutter, and finally Karen’s Cookies came out with one and I snatched it up immediately… and then proceeded to wait forever to actually bake anything with it. That’s just how I roll really. I did in fact get around to making some cookies with my new plaque cutter and decided to do a bit of tutorial on these cookies while I was at it. Here’s the finished product.
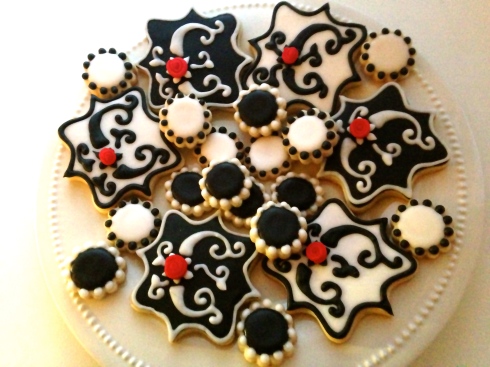
Decorative monogram cookies. I of course chose to do “C”s this time around, but really any letter would work with this technique. I think.
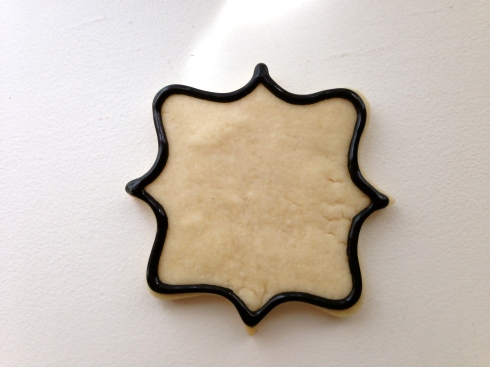
Using 10 second black royal icing, I piped the border.
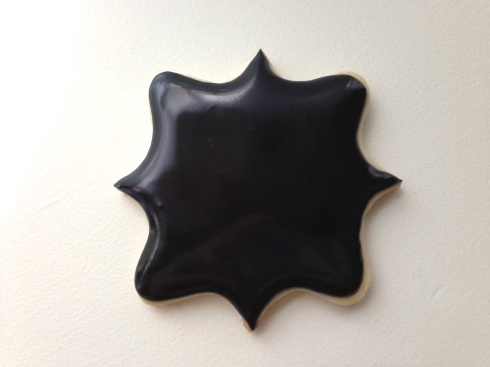
Immediately flood the interior of the cookie with the same color. In my case, black. You can tell from the finished photo that I did some in white too, to alternate the color scheme. Give the cookie a jostle across your work surface to flatten out any bumps or lines. Then… you wait. Dry time. I gave these guys overnight simply because I was using black and white as my color scheme and those two colors tend to bleed into each other pretty easy if you don’t allow proper dry time. If you want to learn more about royal icing bleeding and how to prevent it, check this out.
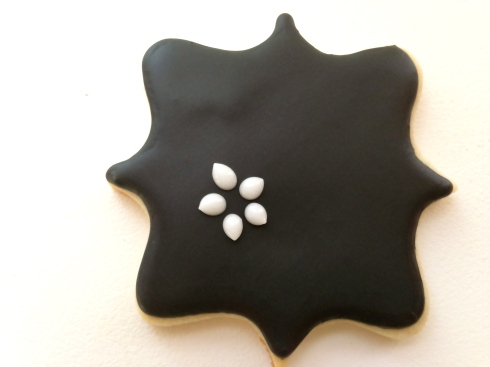
Once proper drying time has taken place, i then used a #2 Wilton tip to pipe on my first section of decal. I did the little “flower” first because it helped give me a base to work out from to make sure everything stayed proportionate and as close to the center of the cookie as possible. Since I was placing my flower on the left hand side of the C, the flower is of course placed off to the left on the cookie.
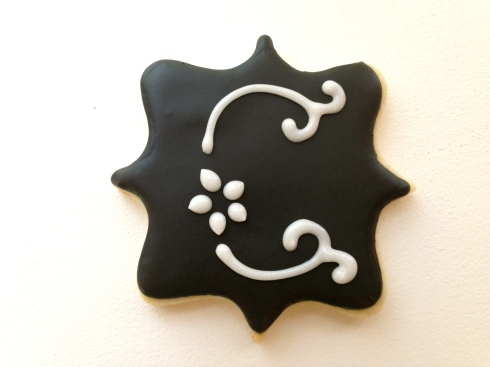
Then, I added the first layout of my C. I used 10 second icing here, because I knew I was going to be going back and thickening the letter to give it a more robust feel, and i didn’t want to have lines in my C when it was all said and done. I did do some sketches on paper to get a feel for how I wanted my C to be designed and thus already had a plan for where to put the curls, etc.
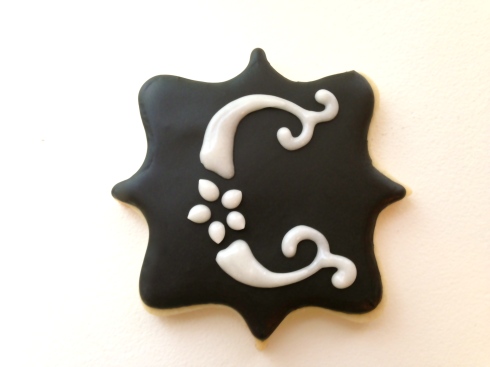
Without allowing the white to dry AT ALL, I immediately went back and thickened the C in the areas closest to the flower. I then gave it a shake to even everything out.
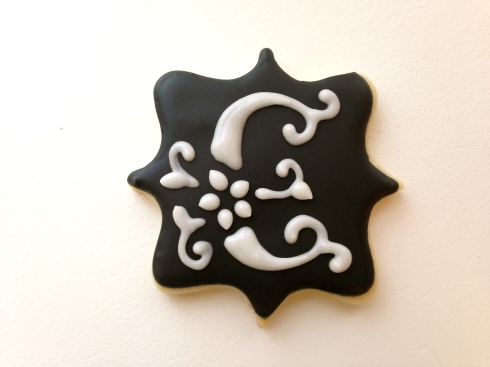
Next, I went in and added some little stems onto my flower with leaves coming off. Given that it’s not a typical flower color or design, it can look like a flower with stems, or it can just look like part of the design, but the beauty is that is doesn’t really matter when you work with all one color as it blends together nicely. To get the look for the little leaves, you simply place your tip where you want the base of the leaf to be, and squeeze a round dot out and while still squeezing slightly, you pull away and up. It makes it end in a point as you can see above.
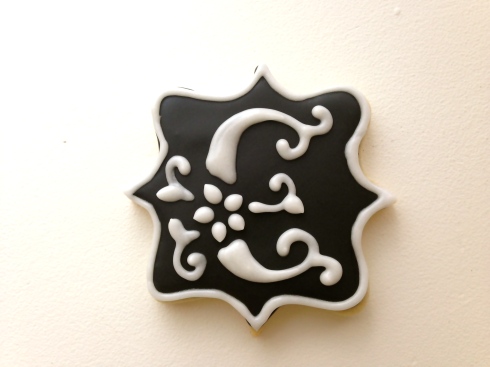
I then went around the outside edge with a solid border. Often times I like to do dots because I prefer that look, but dots give a more “fun” feeling while a solid line gives more of an “elegant” feeling. Course maybe that’s just me, and I AM a bit cooky, so take that with a grain of salt I suppose!
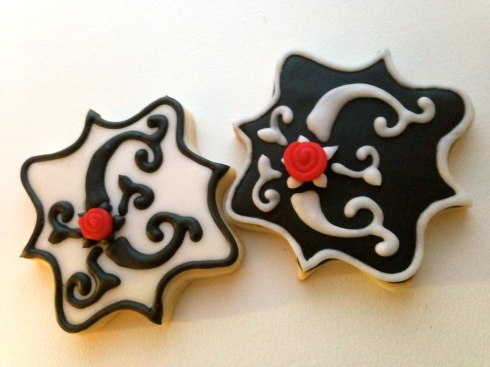
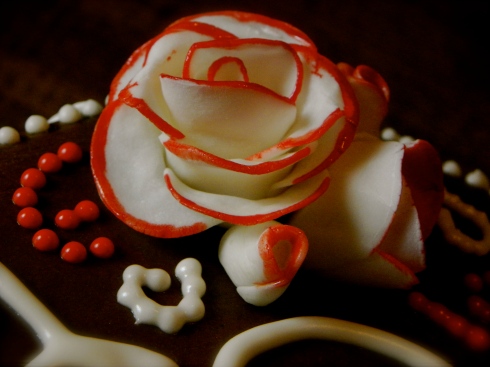
My very last step was to add the ribbon rose. These roses are made out of fondant. That’s a different tutorial for a different day. I attached them by simply putting a dollop of the color I did for the letter on the bottom of the rose and then placed it in the center of my flower. I thought it gave a nice formal touch.
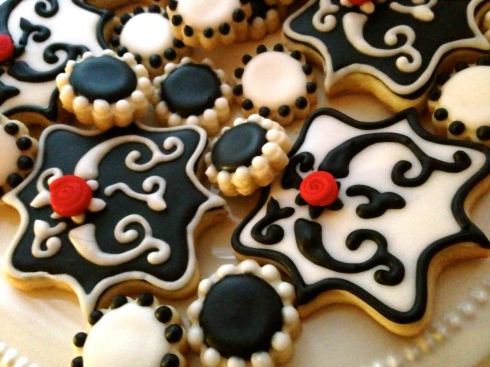
These would be great for a wedding, rehearsal dinner, bridal shower, graduation, you name it! I loved them.
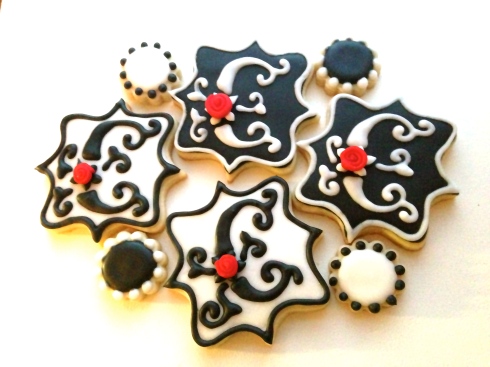
Thanks for checking them out. If you want to get the plaque cookie cutter, you can buy it from Karen’s Cookies, here.
Happy Baking!
Tags: black and white cookie, monogram cookie, plaque cookies, ribbon roses, sugar cookie, wedding cookie


